
Requesting and Giving Control During Screen Sharing in Microsoft Teams
When you're in a Microsoft Teams meeting and sharing your screen or window, you can give control to another participant or request control from someone else. This is useful for collaborative editing, troubleshooting, or demonstrations.
Giving Control to Someone While Sharing Your Screen
Step 1: Start Screen Sharing
- Join or start a meeting in Microsoft Teams.
- Click the Share icon in the meeting toolbar.
- Select what you want to share:
- Entire screen
- Specific window
- PowerPoint Live
-
Whiteboard
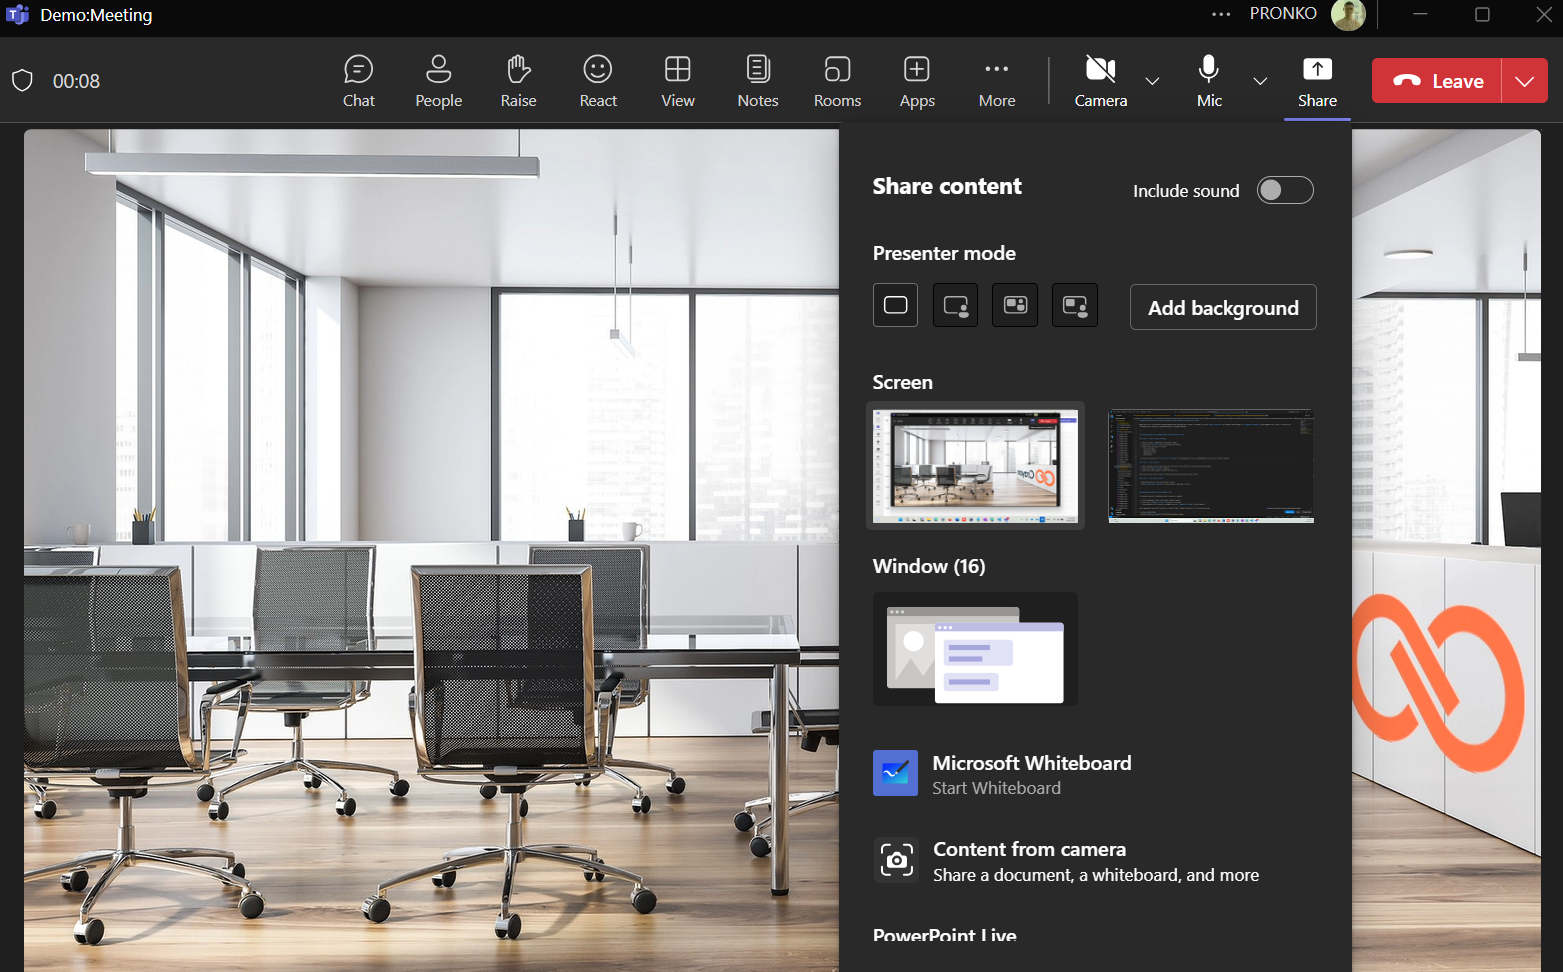
> You must share your screen or window (not PowerPoint Live or Whiteboard) to use the control feature.

Step 2: Give Control
- While sharing, hover your mouse at the top of the screen to show the sharing toolbar.
- Click the Give control button.
- Select the participant’s name from the list.
That person will now be able to move your mouse and type on your screen.
Step 3: Take Back Control
- Move your mouse to the top of the screen.
- Click Take back control at any time to end their access.
Requesting Control from Someone Else
If another person is sharing their screen or window:
- In the meeting, hover over their shared screen.
- Click the Request control button at the top.
- The presenter will receive a prompt and can approve or deny your request.
Once approved, you will be able to control their shared screen as if it were your own.
To stop controlling: - Click Release control at the top of your screen.
Important Notes
- Only one person can have control at a time.
- Both users must be using the desktop app — this feature is not supported in the web browser or mobile app.
- IT admins can restrict control-sharing via policy.
- Giving control does not share files, only temporary access to screen actions.
Best Practices
- Use Take back control immediately after the task is done to avoid accidental changes.
- Communicate verbally while controlling someone else’s screen.
- Don’t share confidential content unless necessary.