
Creating and Editing Pages in SharePoint
This guide describes how to create, edit, and publish pages in a SharePoint Online site.
1. Navigate to Your SharePoint Site
You can access your site via: - Teams (Tab) — if added to a Team - OneDrive > Shared Libraries - Direct URL or Microsoft 365 App Launcher
📍 Example URL: https://[tenant].sharepoint.com/sites/YourSiteName
2. Creating a New Page
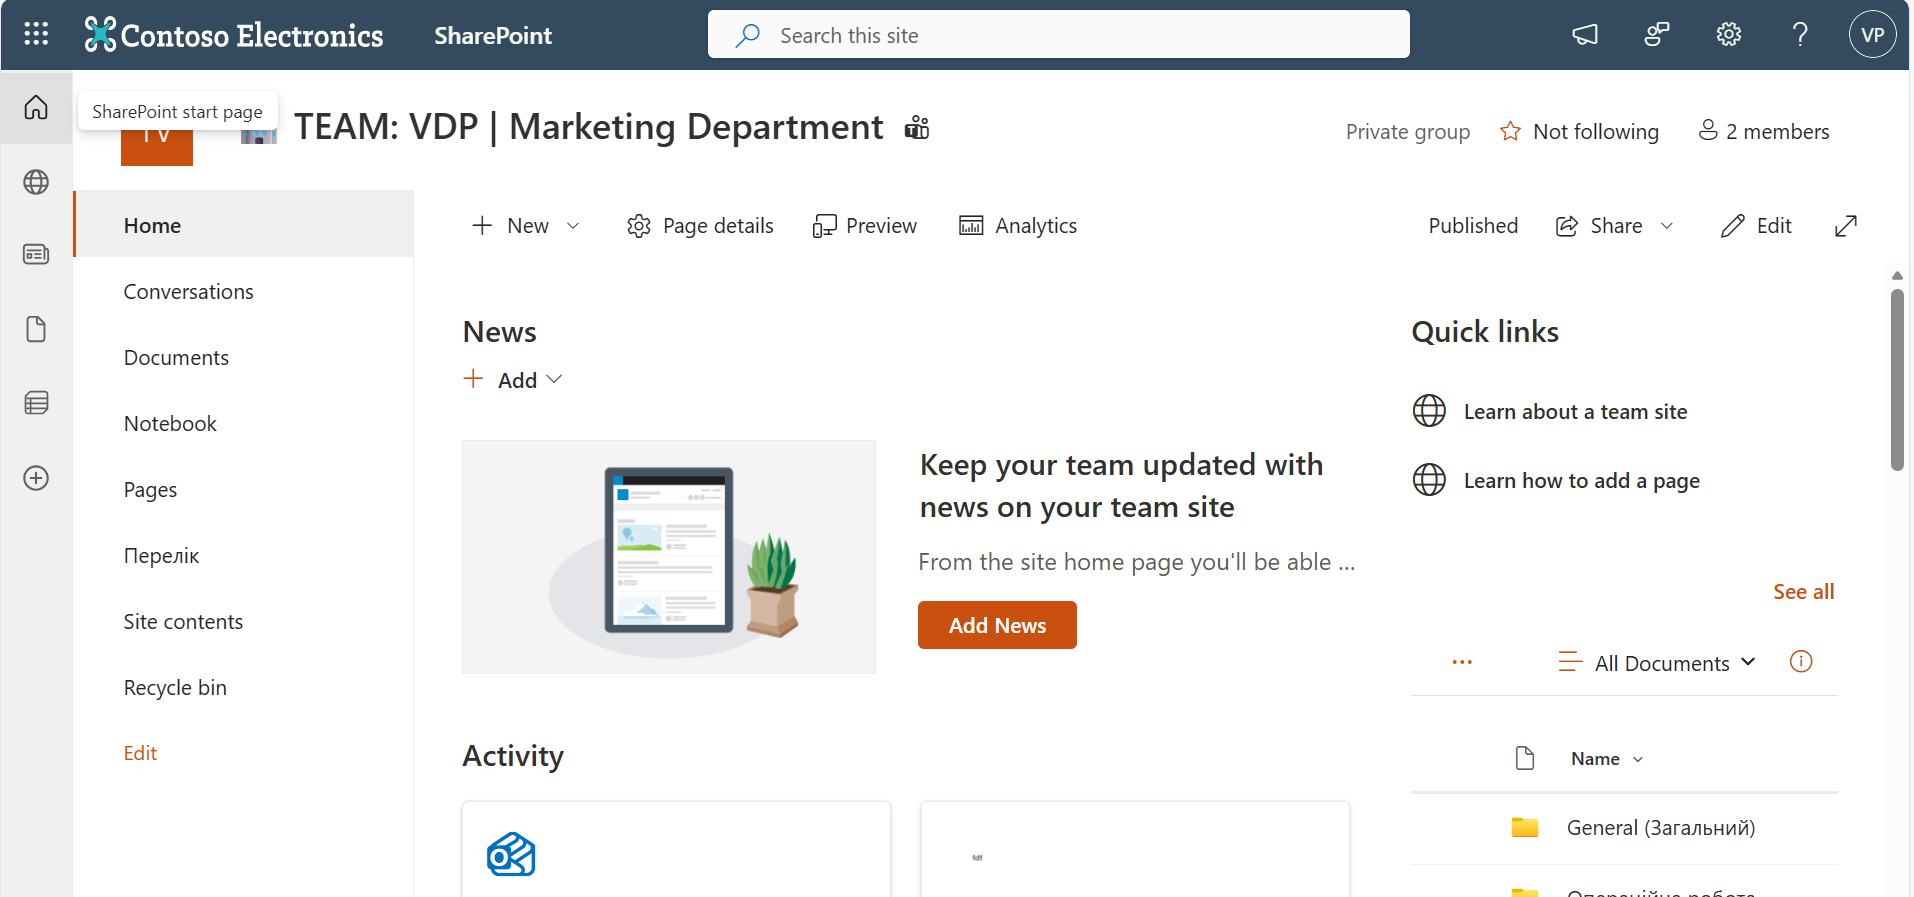
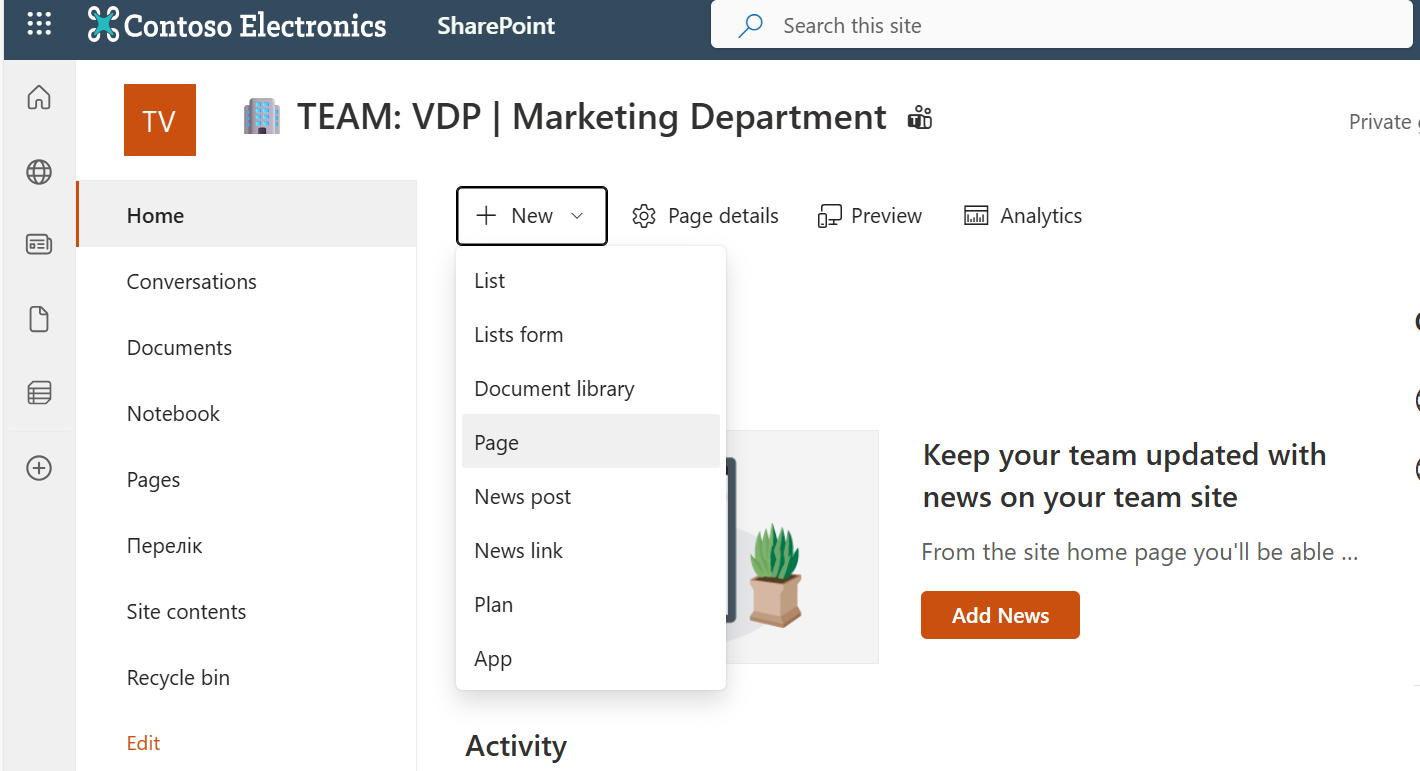
- From your site homepage, click on the "New" button (top left).
- Select "Page" from the dropdown menu.
- Choose a layout template or start with a blank page.
3. Editing the Page
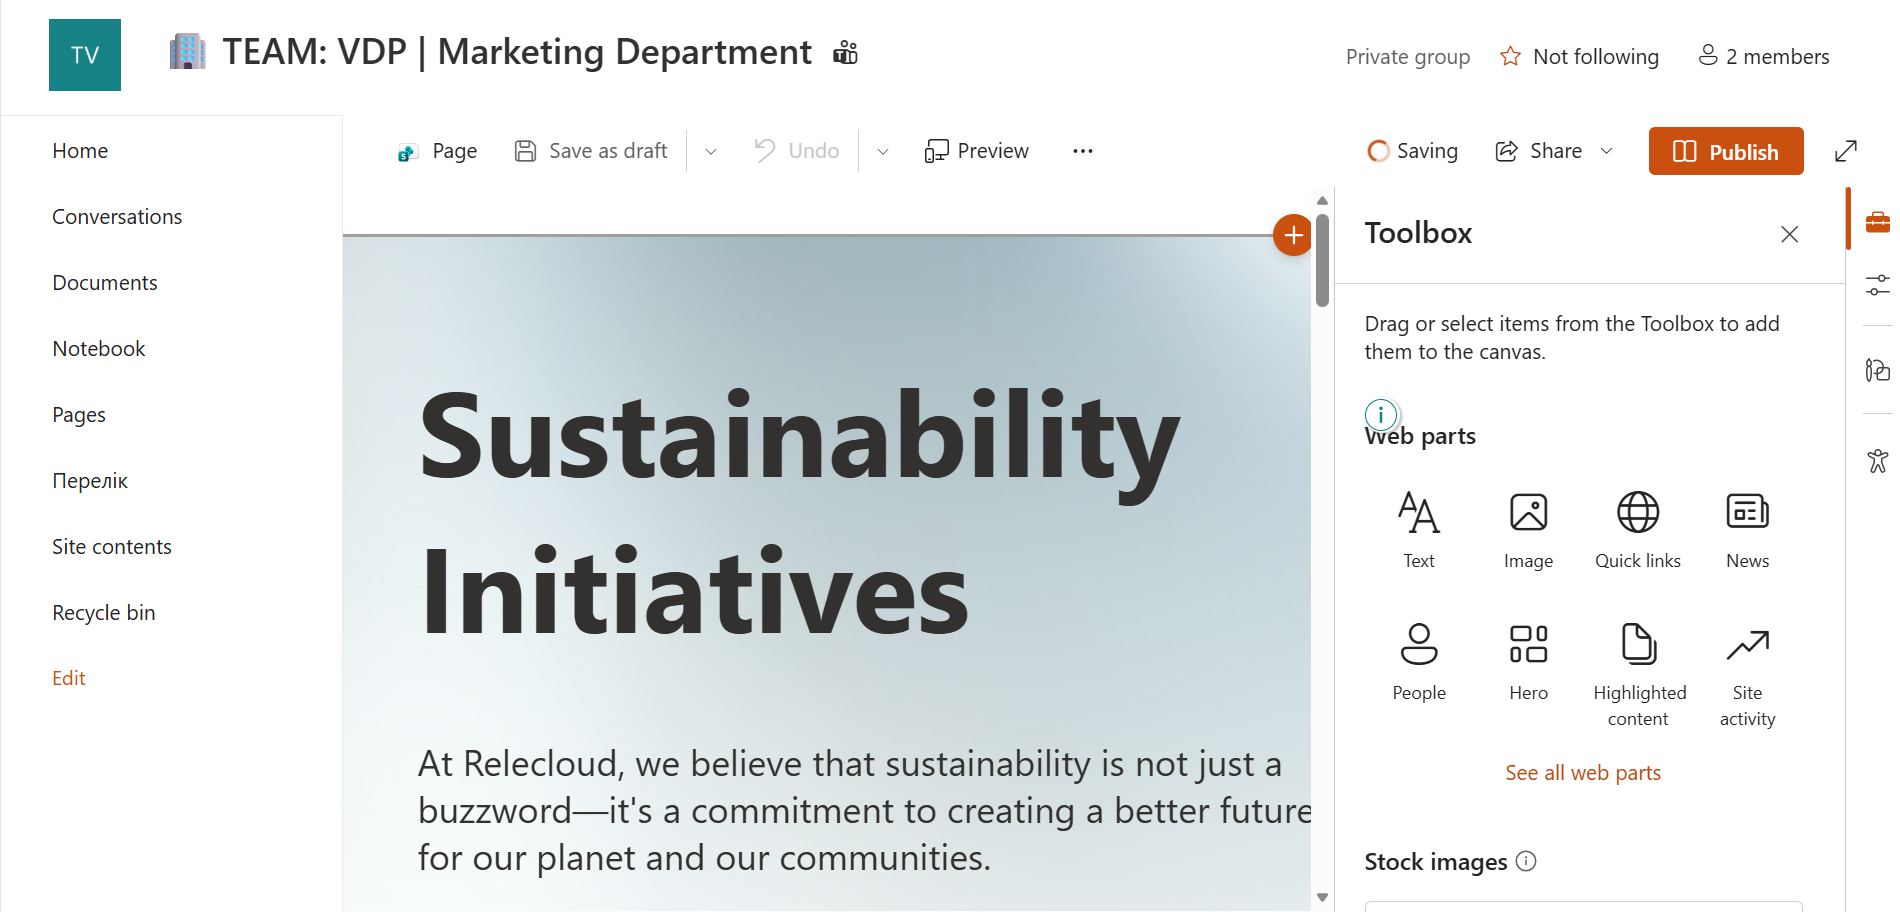
Once the page opens in edit mode:
- Click on sections to add new web parts (text, images, links, lists, etc.).
- You can move sections up or down using the section toolbar.
- To edit a web part, click the pencil icon on the part.
4. Publishing the Page
- Click "Publish" (top right) to make the page visible to everyone.
- Or choose "Save as draft" if you're not ready yet.

📌 Only users with "Edit" permission can create or edit pages. If you don’t see the "New" button, contact your site owner or admin.
5. Viewing or Editing Existing Pages
- Go to the "Pages" library (usually found in the left-hand navigation or via the settings gear > Site contents > Site Pages).
- Click the name of a page to view it.
- Click "Edit" (top right) to make changes.

Notes
- SharePoint pages support version history — previous versions can be restored.
- Pages can be scheduled to publish later using "Page details".
- You can set a page as a homepage from the “...” menu > Make homepage.